Saving Seeds in 4 Easy Steps
The four steps below don't work for fruit vegetables like tomatoes, squash and cucumbers, but they do work for annuals and herbaceous perennials that set flowers and seed pods.
Each year I use this method to collect and save various seeds, including zinnia, hollyhock, marigold, four o'clock, nasturtium and snapdragon seed. I learned it from reading, going to gardening workshops and trial and error.
Each year I use this method to collect and save various seeds, including zinnia, hollyhock, marigold, four o'clock, nasturtium and snapdragon seed. I learned it from reading, going to gardening workshops and trial and error.
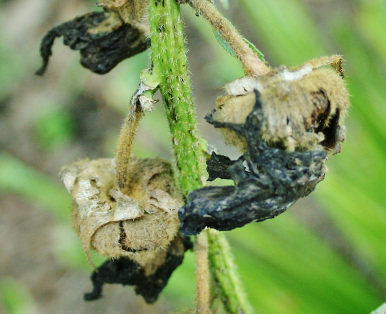
1. CollectCollect flowers and pods that have "gone to seed." Shriveled, dry, and dark in color, usually in shades of brown and/or black, they are ready to harvest.
Seed heads and pods that are still green often rot when stored. And even if you do manage to dry them out sufficiently before storing them, they are likely to be too immature to germinate. Be sure to keep the different types of seeds that you collect separated in glass or paper containers, and label the containers with the plant name or, if you don't know it, a good description. I often collect seed in brown paper bags, which are lightweight and easy to carry. Because the bags "breathe," I can leave the seed in them for several days, or even a week, before processing it--no harm done. 3. DrySet clean seed out in a cool, dry area away from the wind on wax paper, paper towels or an old screen, and allow it to dry.
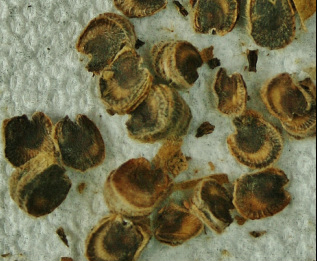
Larger seed like hyacinth bean and hollyhock seed may take up to a week, while smaller seed snapdragon only a few days. Sometimes it's hard to tell if the seed is dry enough, so you may have to experiment a bit (and keep records to guide you next year). Although it might make sense to let the seed dry for weeks and weeks, just to be sure it's really dry, that (unfortunately) won't work, as seed will start to suck up moisture in the air if left out too long. (I know. I hate that, too.) |
2. CleanSeparate the seed from the pod or seed head and remove the chaff, that is, everything that's not seed, including bits of dried petals and dirt.
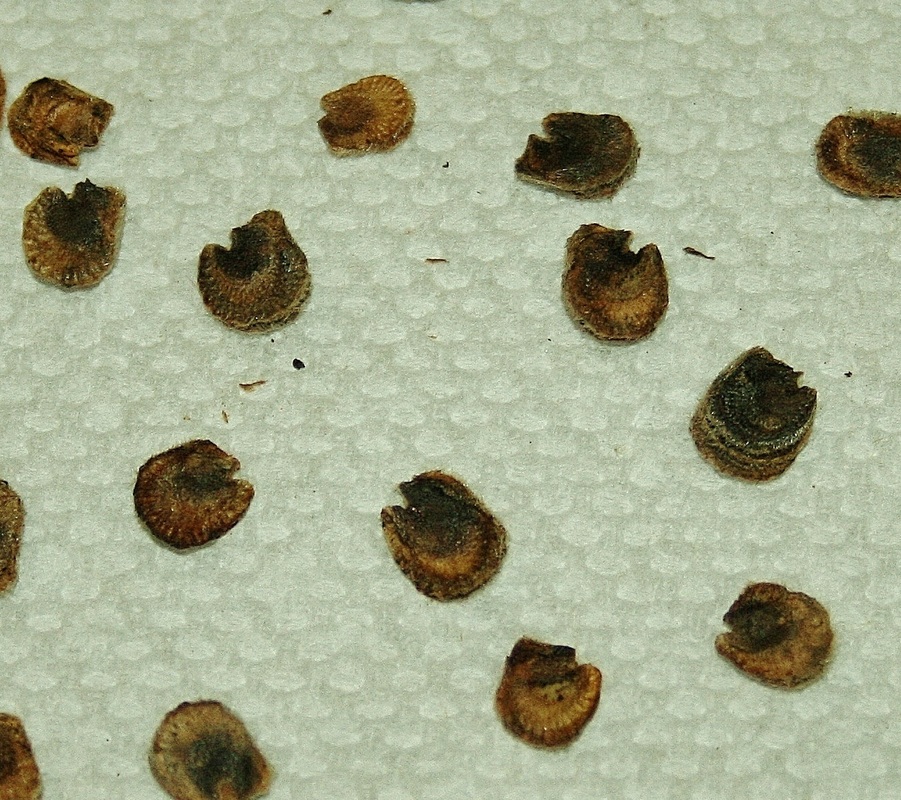
Called winnowing, this can be done using a sieve or an old window screen. If the seed is large, like the hollyhock seed pictured above, you can separate the seed from the chaff with tweezers or your fingers. You could also place the seed in your palm and blow away the chaff or let the wind take it. (This never has work for me. Instead of clean seed, I invariably end up with seed on my face, in my hair or growing somewhere I least expect it come spring.) Try to remove as much chaff as you can. It usually contains moisture and/or pathogens and could cause your seed to mildew or rot over time. 4. StoreStore dried seed in closed containers that are sealed but not air tight, and place them in a cool place, preferably in the freezer or the refrigerator.
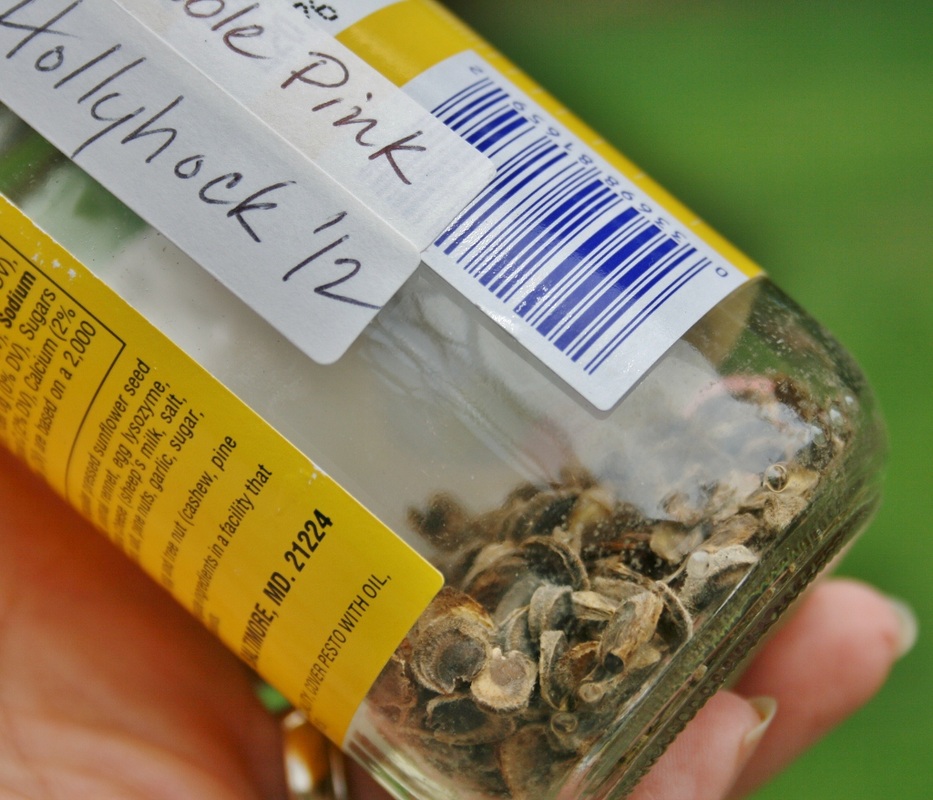
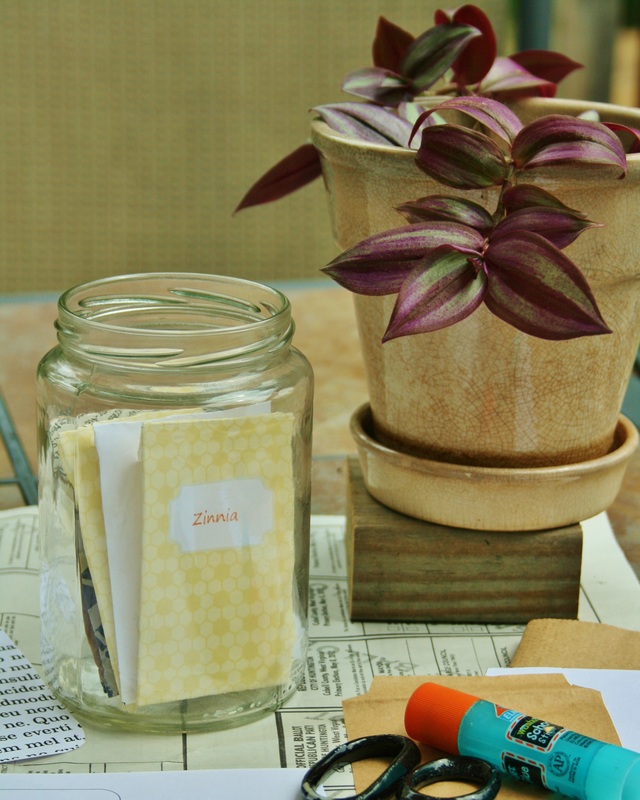
Frozen seed lasts longer, but to freeze well, it must be truly dry, so don't freeze if you're not sure you got all the moisture out. Although some people store seed in plastic tubs, I prefer small glass lidded jars. (I know they don't give off gases that might interfere with plant growth.) If you have lots of seed, you might store them in envelops or little seed packets you can make at home, and store them in a large glass jar with a lid in the refrigerator. |
Lazy Seed Saving
|
Should you do the 2 step?
In a hurry? You could probably ignore Step 2 and Step 3 and still have some success in seed saving. My grandmother always gathered dried pods of hyacinth bean in the fall, threw them into a paper bag without shelling them or drying them out and then set the bag in the garage over the winter. In the spring, she'd plant them, shell and all. I don't know what her germination rate was, but she always had hyacinth bean vines growing over her back door. My mother did something similar with marigold seed, storing a paper grocery bag full of dried flower heads, chaff and all, in a gardening shed that stayed as cold or colder than our refrigerator in winter. If you have a green thumb and you only intend to save your seed for one winter, a similar sort of method could work for you. Or, you could end up with a bags of moldy seed, lifeless seed or, later, seedlings that are crippled with fungus or blight. Because I usually collect a good bit of seed and use it over time, I do all four steps, but a simpler approach could easily work for you. |
