Simple in-ground composting
|
Compost holes are a simple form of in-ground composting. (Other types include the two-hole method and trench composting. The former is described by Nick Noyes in Easy Composters You Can Build. Directions for the latter, which requires a tiller, may be found Stu Campbell’s Let It Rot!)
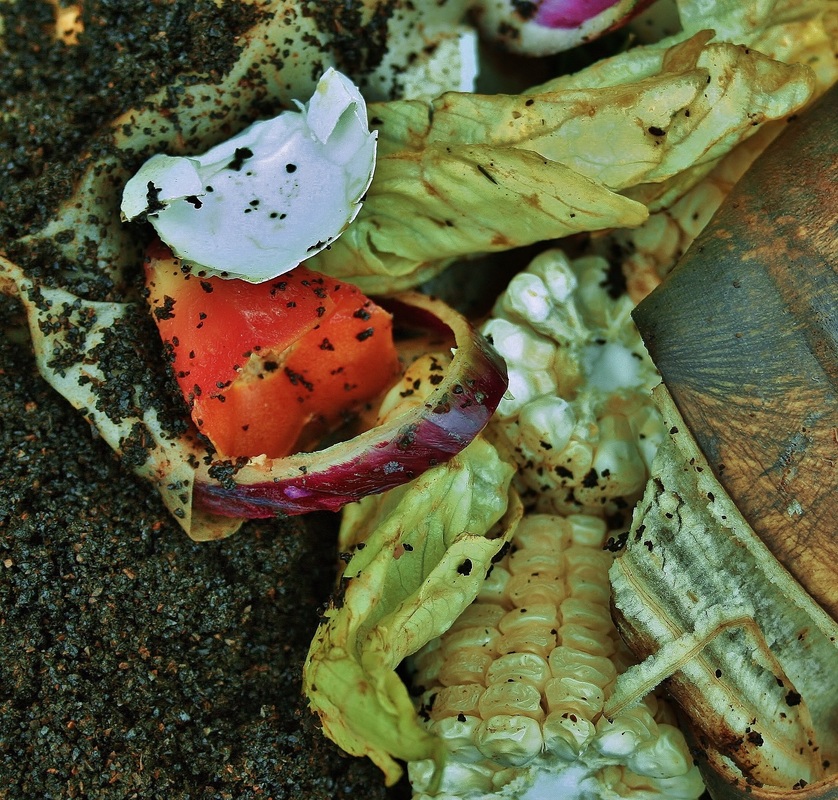
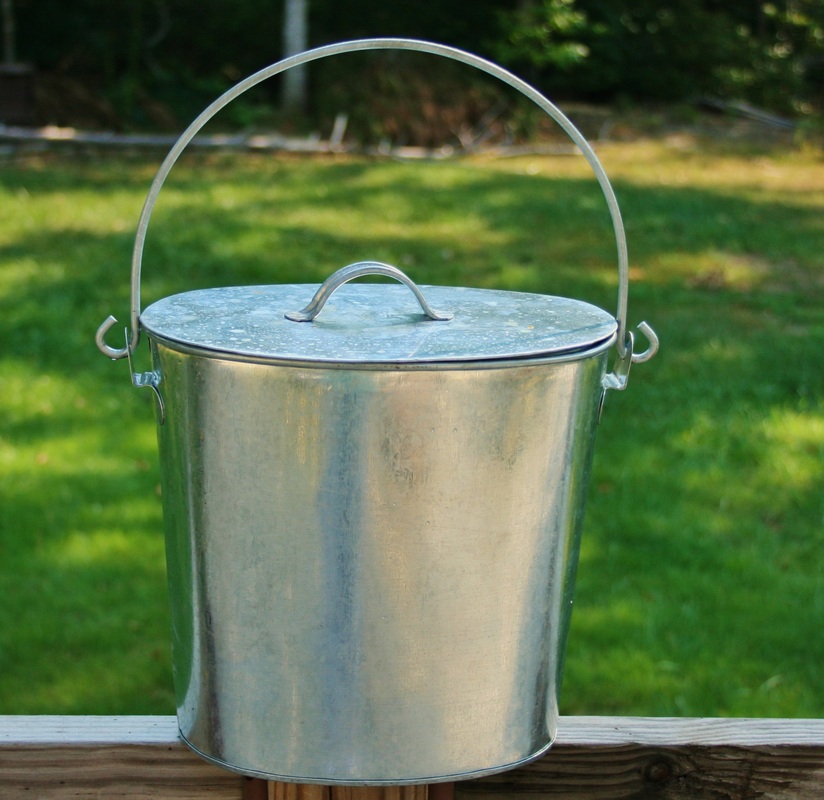
They're also hands down the easiest and least expensive way home gardeners can amend the soil on a regular basis. In fact, you can create compost holes year round as long as the ground isn’t frozen. Best of all, compost holes don’t require bins, piles, pitchforks or worms. All you need is a digging tool of some sort, a patch of earth and kitchen waste—you know, the banana peels, coffee grounds, tea bags, potato peels and other bits of easily compostable matter your kitchen produces daily. Here’s what you do. Step One: Collect kitchen waste. As you work in the kitchen, throw bits of vegetables, fruits and other readily biodegradable scraps into a container. If you care about appearances, you can purchase an attractive compost crock with a charcoal filter in its lid to reduce the smell of rotting vegetation. Good-looking stainless steel composting buckets with tight-fitting tops are also available. They’re easy to scrub out, and the lids seal in odors. Most kitchen compost pails cost under $30. You can also purchase biodegradable compost crock liners in packs of 50 for about $10. Of course, you can just as easily keep your money and throw kitchen waste into a big plastic margarine tub or some other re-sealable container that you’d otherwise throw out. If you plan to compost frequently and/or don’t mind the odor, you could even hang a plastic grocery bag on a kitchen cabinet knob and toss scraps in it as you cook. Kitchen Scraps to Use Instead, collect fruit and vegetable scraps, including vegetable peelings like potato, turnip, parsnip, onion, carrot and yam peels; fruit peelings, such as apple, peach, pear & banana peels; vegetable& fruit cores, such as cabbage, lettuce, pear & apple cores; trimmings from mushrooms, lettuce, potatoes, celery and carrots; and nutshells. Tea leaves and coffee grounds are also easily compostable, bags and filters included. |
Compost Holes for Trees & ShrubsKitchen Scraps to Avoid
When collecting scraps, keep in mind that all kitchen waste isn’t appropriate for hole composting. Meat, bones, eggshells, grease, sour milk and cheese, for example, shouldn't go into a compost hole. Not only do they attract animals, but they take a long time to decompose. Many composting guides advocate the use of eggshells and sour milk. In fact, I add these items to my own compost bin. However, I don’t place them in compost holes. Why? Because they degrade more slowly than vegetative matter. And because they breakdown through the action of anaerobic bacteria, they give off a strong odor that can attract animals. While critters may have a tough time breaking into compost bins, they have little difficulty digging up compost holes. |
Step Two: Dig a Hole
Once you’ve collected one to two quarts of kitchen waste, dig a hole wherever you’d like to improve your soil. It could be in your flowerbeds, vegetable garden, raised beds or somewhere you’ll sow seeds or plant seedlings. It could even be the site where you plan to plant a tree.
Dig down anywhere from 8 to 18 inches. If the ground is soft, you don’t even need a shovel. You can use a spade—or your hands.
For best results, the hole should be at least 8 inches deep so that there’s a barrier between your
kitchen scraps and pests like raccoons, possums, squirrels and (in some cases) cats and dogs.
Don’t dig too far! If you go deeper than 18 inches, your compost could leach into the water table.
 Cut up kitchen waste into small pieces,
Step Three: Dump in the Kitchen Waste
After you’ve dug the hole, dump one to two quarts of composting material into it. It will cover the bottom of the hole by about one or two inches.
You may want to chop up the kitchen waste with kitchen shears, gardening sheers or with your spade or shovel if it’s in large chunks. But don’t run it through a blender or compact it. The vegetable and fruit scraps you’ve collected will be broken down by bacteria that works aerobically. In other words, the bacteria requires oxygen in order to engender decomposition.
Step Four: Cover It Up
Shovel (or shove if you’re using your hands) the soil you removed back into the hole, and you’re done!
Compost holes are that simple. You can enrich your soil with them weekly—even daily if your kitchen produces enough compostable waste.
Kitchen waste takes anywhere from one to six months to rot. The length of time required depends upon several factors, including moisture levels in the soil, the temperature, the soil type and the kind of scraps you bury. You can speed things up by chopping up the waste and/or adding nitrogen-rich elements like grass clippings, pet and/or human hair, manure and leaves to the hole.
Once it's covered, you can immediately plant seeds or small seedlings on top of the compost hole. Or, you could wait about six months and then plant a tree.
beyond KITCHEN SCRAPS
|
If the in-ground composting method described above sounds too easy, you can make hole composting more complicated by collecting household waste beyond kitchen scraps and adding it to the compost hole.
For instance, black & white newspapers (shredded), celluloid egg cartons (torn into small pieces), wood ash and vacuum dirt are good "brown" additions to your compost hole. You can even empty your hairbrush and your pet's hair brush into your compost bucket. After all, hair contains nitrogen, which plants love. Don't collect any wastes that might harbor disease, such as pet feces and sick houseplants. Also avoid adding items that contain ingredients that are potentially toxic to plants, such as coal ash and color newspaper supplements. |
compost holes for lazy people
Want to make hole composting even less complicated? Don’t collect kitchen waste. Instead, substitute store-bought composted manure, mushroom compost or soil products, pouring the enriched soil into the compost hole. Now that's easy!
multiple hole composting
If you’re feeling especially energetic and have a lot of kitchen waste, try the two-hole compost method. It’s a bit more complicated than simple hole composting, but not much.
First, dig a hole between the rows in your vegetable garden. For the reasons noted above, it should be about a foot deep.
Dump one to two quarts of compostable materials into the hole and then fill it with dirt acquired from digging a second hole next to the first one. Fill the second hole with more kitchen scraps and top them off with dirt, either from the first hole or from a third one.
Stop at two holes, or continue until you run out of composting materials. If you don't have enough kitchen waste, you can dump in store-bought compost instead.
Compost Holes for Trees & Shrubs
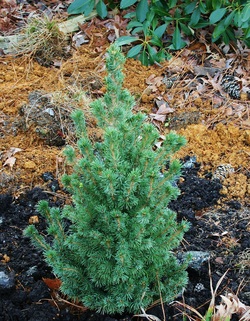
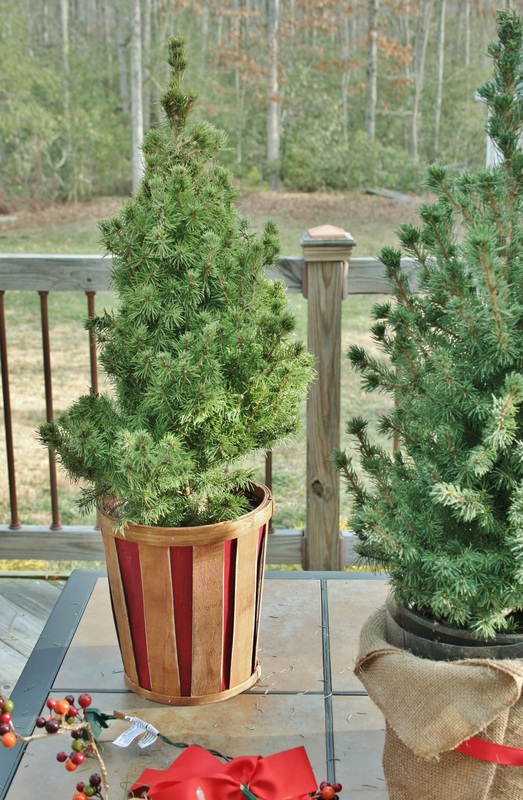
Before buying a new tree or shrub, create a compost hole for it either in spring or summer.
Create a compost hole.
Simple dig a hole about a foot deep in the spot where you intend to plant the tree. After adding kitchen waste and covering the waste with soil, top the hole with mulch.
Mark its place.
Mark the compost hole with a stick, flag, stake or some other identifying mark so that you can find it again.
Relax until planting time.
Then simply wait.
By spring planting time, the soil in the hole will be friable and rich, perfect for providing nourishment to the newest member of your landscape.
4 Good Reasons to In-Ground compost
|
You have a small yard.
Hole composting is perfect for properties that are too small to accommodate a compost bin, tumbler or compost pile. They only take up about a foot--below ground. You live a busy life. Compost holes only require four steps (three if you substitute store-bought compost for kitchen scraps). And if the ground is soft, digging and filling the hole takes just a few minutes. |
You have raised beds.
Compost holes are a super-easy method for building the soil in raised beds. Raised-bed soil is ordinarily soft, so the holes are easy to dig. It's virtually free. Compost holes are virtually cost-free alternatives to compost bins and boxes. The materials required are minimal: a shovel or spade and kitchen scraps. And no activators are needed to speed up decomposition. |
